Learn how to record high-quality audio for your YouTube videos with expert tips on microphones, recording techniques, editing, and SEO optimization. Enhance your audio setup for clearer, professional sound to engage your audience effectively.
Recording High-Quality Audio for YouTube Videos: Tips and Equipment
By Farid Aseel • May 14, 2025
YouTube
Why High-Quality Audio Matters for YouTube Videos
In today’s digital age, video content has become one of the most powerful forms of communication and entertainment. Whether you’re creating tutorials, reviews, vlogs, or educational videos, the quality of your audio plays a crucial role in determining how your content is perceived by your audience. High-quality audio can make your videos more engaging, professional, and enjoyable to watch, while poor sound can turn viewers away, even if the video itself is visually captivating.
For YouTube creators, having clear and crisp audio is just as important as video quality. In fact, audio issues like background noise, low volume, or unclear speech can diminish the overall viewer experience. If you want to improve the production value of your videos and attract more subscribers, mastering the art of recording high-quality audio is essential. This article will guide you through practical tips, techniques, and the best equipment for achieving professional-grade sound in your YouTube videos.
Comprehensive Guide to Recording High-Quality Audio
Recording high-quality audio requires a combination of the right equipment, technical skills, and understanding of sound fundamentals. Here’s a breakdown of everything you need to know:
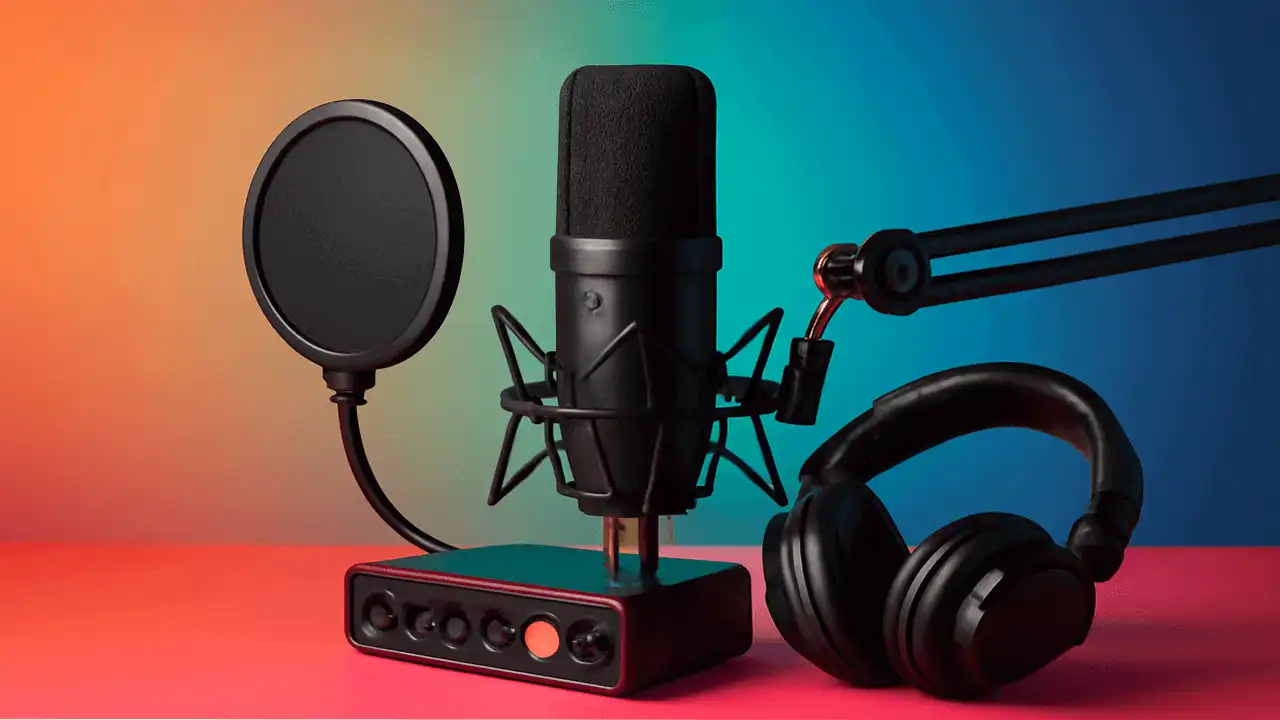
1. Choosing the Right Microphone
The microphone you choose for your YouTube videos is the most important factor in determining audio quality. Different types of microphones serve different purposes, and understanding which one to use will make a significant difference.
- Dynamic Microphones: These are durable and less sensitive to background noise, making them ideal for recording in less-than-ideal environments.
- Condenser Microphones: These microphones offer superior sound quality, capturing the nuances of your voice with greater detail. They are perfect for studio settings but can pick up ambient noise, so they require a controlled environment.
- Lavalier Microphones: These clip-on microphones are a great choice for vloggers or creators who need mobility while filming. They offer decent sound quality but can pick up noise in loud environments.
- Shotgun Microphones: These are directional microphones that focus on capturing sound from one specific source, minimizing background noise.
When selecting a microphone, consider factors such as your recording environment, budget, and the type of content you're producing.
2. Setting Up Your Recording Space
The space in which you record can have a significant impact on the quality of your audio. Here are some tips for optimizing your recording environment:
- Control Background Noise: Record in a quiet room with minimal distractions. Turn off any fans, air conditioning, or other noise-producing appliances.
- Soundproofing: To prevent echo or reverberation, use soft materials like carpets, curtains, or foam panels to absorb sound. If possible, record in a room with minimal hard surfaces like tile or glass.
- Microphone Placement: Ensure the microphone is placed close to your mouth, ideally 6-12 inches away, to capture clear and focused sound.
3. Audio Recording Techniques
Even with the right equipment, improper recording techniques can result in poor audio quality. Here are some key recording tips:
- Use a Pop Filter: A pop filter helps reduce plosive sounds (like "p" and "b") that can distort your audio. It's a simple tool that can drastically improve your recordings.
- Adjust Gain Settings: Set your microphone’s gain to an appropriate level. Too high, and you risk clipping; too low, and the audio will be too quiet.
- Monitor Your Audio: Always use headphones to monitor your recording in real time. This will help you detect any issues, such as background noise or distortion, before you start editing.
- Test Before You Record: Run a quick test to check for audio clarity, background noise, and volume levels before diving into your full recording session.
4. Audio Editing Tips
Once you've recorded your audio, the next step is editing. High-quality audio editing can transform raw sound into polished content that enhances your video. Here are some essential tips for editing audio:
- Remove Background Noise: Use software tools like Audacity or Adobe Audition to reduce or eliminate unwanted background sounds.
- Normalize Audio Levels: Ensure that your audio levels are consistent throughout the video. Use normalization to make quiet parts louder and loud parts quieter.
- Add Compression: Compression evens out the dynamic range of your audio, ensuring that both quiet and loud sections are clear and balanced.
- Use EQ (Equalization): Equalization allows you to adjust the bass, midrange, and treble frequencies to make your audio sound fuller and more professional.
Essential Equipment for High-Quality Audio
While microphones are the centerpiece of any good audio setup, several other pieces of equipment can enhance the recording process.
- Audio Interface: If you're using a professional microphone (especially a condenser microphone), you'll need an audio interface to connect it to your computer. The interface converts the analog signal from your microphone into a digital signal that your computer can process.
- Mic Stand: A stable microphone stand ensures that your mic stays in place and minimizes any handling noise.
- Headphones: High-quality headphones are essential for monitoring your audio during recording and editing.
- Soundproofing Materials: Acoustic panels, foam, or even DIY solutions like blankets can help absorb sound and improve your recording environment.
SEO and Optimization Tips for Your YouTube Videos
To ensure that your video reaches the right audience, it’s essential to optimize both the audio and the overall video content for SEO. Here are some SEO tips:
- Use Keywords: Include relevant keywords in your video title, description, and tags. Keywords related to "high-quality audio," "microphones for YouTube," and "audio recording tips" will help your video rank higher in search results.
- Meta Description and Alt Text: When uploading images or thumbnails, make sure to add descriptive Alt Text that includes your keywords. Also, write a compelling Meta Description for the video to improve its discoverability.
- Engage with Your Audience: Encourage viewers to like, comment, and share your video. Engaging with your audience through comments also signals to YouTube that your content is valuable.
- Use Transcriptions: Adding transcriptions to your videos can improve accessibility and provide additional content for search engines to crawl.
Conclusion
Recording high-quality audio is an essential skill for any YouTube creator who wants to elevate their content. By choosing the right equipment, setting up an optimal recording environment, and employing effective recording techniques, you can ensure that your videos sound professional and engaging. Don't forget to optimize your content for SEO to maximize its reach and impact.
Continuous Improvement and Analysis
To stay ahead of the game, it's crucial to keep learning and adapting. As audio technology evolves, so should your recording and editing techniques. Regularly evaluate your content, seek feedback, and adjust your approach to ensure your YouTube videos are always top-notch.