Boost your productivity and publish videos faster with these pro workflow tips for YouTube editing. Learn tools, templates, shortcuts, and SEO hacks to streamline your process and grow your channel effectively.
How to Speed Up Your YouTube Video Editing Workflow Pro Tips for Faster Content Creation
By Farid Aseel • May 30, 2025
YouTube
Why Fast and Efficient Editing Matters
In the fast-paced world of content creation, video editing speed can be the difference between staying ahead or falling behind. With over 500 hours of content uploaded to YouTube every minute, efficiency isn't a luxury—it's a necessity. If you're a YouTube creator aiming to scale your production, speeding up your editing workflow is a key strategy to stay consistent, meet deadlines, and maintain high-quality output.
Whether you're a beginner or a seasoned content creator, streamlining your editing process will save you time, boost your productivity, and help you focus on creativity rather than logistics. In this article, you’ll discover practical video editing tips, professional workflow hacks, and SEO best practices tailored for YouTube creators.
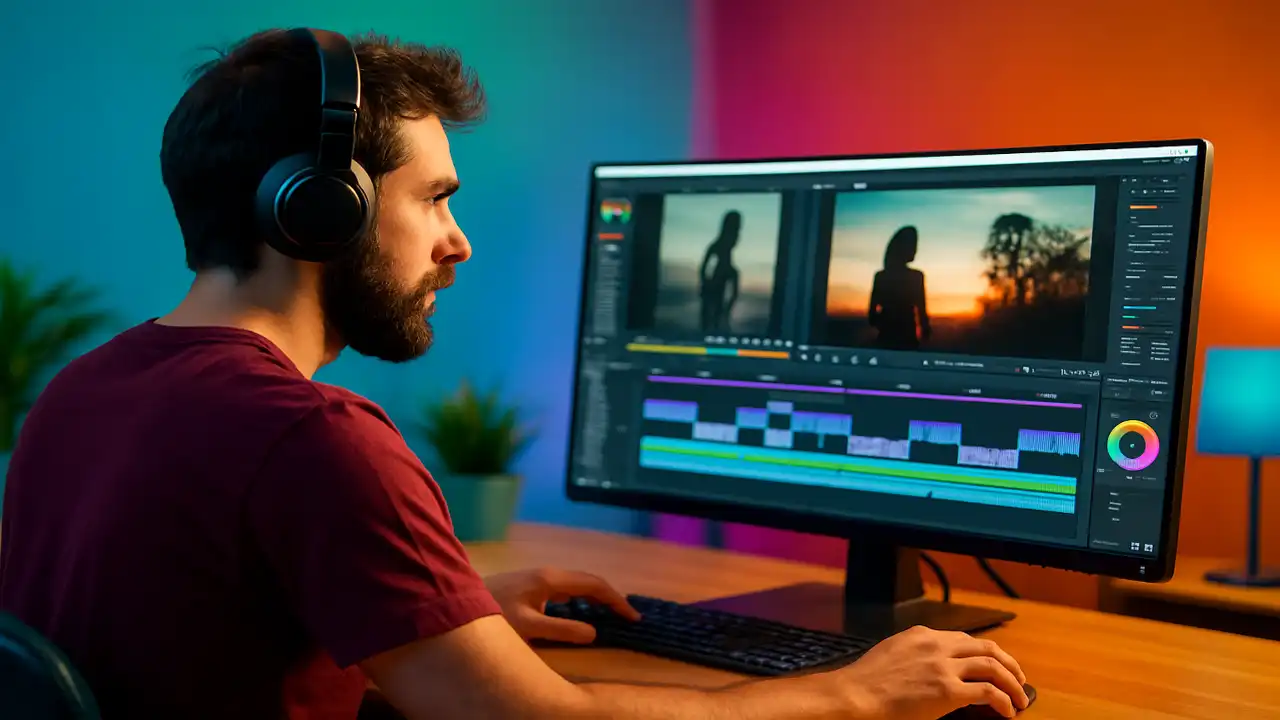
Understanding the YouTube Editing Workflow
The editing process for YouTube typically involves several stages: pre-edit planning, footage organization, rough cutting, polishing, color grading, sound mixing, and final export. Optimizing each step can dramatically reduce the time it takes to publish a video.
Key aspects of a streamlined workflow include:
- Clear pre-production planning
- Organized file management
- Efficient use of editing software
- Automation tools and templates
- Time-saving keyboard shortcuts
- Regular review and refinement
By improving each of these steps, you can shave hours off your editing time while increasing the consistency and quality of your videos.
Practical Tips to Accelerate Your YouTube Editing Workflow
1. Plan Your Content Before You Hit Record
A solid script or outline can reduce unnecessary takes and shorten editing time. Use content planning tools like Trello, Notion, or Google Docs to script your videos and define the video structure in advance.
Keyword Tip: Using outlines can also help structure your content around long-tail keywords and improve YouTube SEO.
2. Organize Your Footage Immediately
Import your media into organized folders with clear naming conventions:
- Footage/
- B-roll/
- Audio/
- Graphics/
- Exports/
Use metadata tags and color coding in your editing software (e.g., Adobe Premiere Pro, Final Cut Pro, DaVinci Resolve) to sort clips quickly.
3. Create and Use Project Templates
Design templates for:
- Intros/outros
- Lower thirds
- Transitions
- Titles and branding elements
Templates save editing time and ensure consistency across videos. Many creators use Motion Array or Envato Elements for reusable assets.
4. Master Your Keyboard Shortcuts
Learning key editing shortcuts can save minutes on every task. Here are a few essential ones for Adobe Premiere Pro:
- C: Razor Tool
- V: Selection Tool
- Cmd+K / Ctrl+K: Cut at playhead
- Shift+Delete: Ripple Delete
Make a habit of using shortcuts to boost speed and precision.
5. Use Proxy Files for Faster Editing
High-resolution footage (like 4K) can slow down playback. Creating proxy files—low-resolution copies—allows for smoother editing and faster timeline scrubbing.
6. Automate Repetitive Tasks
Take advantage of AI tools and plugins:
- Auto-cut silence with tools like Descript
- Auto-captioning with YouTube Studio or Kapwing
- Noise removal via AI audio tools like Krisp or Adobe Enhance
7. Batch Your Editing Tasks
Instead of editing a full video from start to finish in one sitting, batch similar tasks:
- Do all rough cuts first
- Then transitions and effects
- Then color and audio
This method improves focus and speeds up the workflow.
SEO Optimization for YouTube Editing Success
Fast editing is only part of the equation. Your content must also be optimized for search visibility on YouTube and Google.
Best Practices:
- Use long-tail keywords in titles, descriptions, and file names (e.g., "how to edit YouTube videos fast")
- Add chapters in your video description for better navigation
- Include a compelling thumbnail (optimized to 1280x720)
- Write a keyword-rich Meta Description for each video
- Add Alt Text for any images on associated blogs or embedded video pages
Enhancing Visual Appeal with Optimized Images
If you include video content on a blog or website, supporting images like screenshots or behind-the-scenes photos should:
- Be in .webp or compressed .jpg format for fast loading
- Include Alt Text that incorporates primary keywords (e.g., "video editing timeline shortcut Adobe Premiere")
This not only improves SEO but also boosts accessibility.
Internal and External Linking Strategy
To boost on-page SEO:
- Internally link to related content (e.g., “Check out our guide on ‘YouTube Thumbnail Optimization’”)
- Trending Thumbnails
- Externally link to credible sources (e.g., Adobe tutorials, YouTube Creator Academy)
Always use do-follow links where appropriate and make sure links add value, not distraction.
Continuous Improvement and Workflow Analysis
To improve long-term efficiency:
- Track how long you spend on editing each video
- Analyze where bottlenecks occur
- Invest in better hardware if necessary (SSD, RAM, GPU)
- Periodically review and update templates and plugins
- Stay current with new features in your editing software
Use tools like Clockify or Toggl to monitor your editing time and find areas for improvement.
Conclusion and Call to Action
Speeding up your editing workflow is not just about working faster—it's about working smarter. By applying the tips above, you’ll not only cut down your production time but also increase the quality and consistency of your YouTube content.
Remember: time saved in editing is time earned for brainstorming, engaging with your audience, and growing your channel.
👉 Now it’s your turn:
Start implementing these workflow hacks and let us know which one made the biggest difference. Don’t forget to share this article with fellow creators and drop a comment below!