Master color grading to make your YouTube videos look cinematic. This comprehensive guide covers techniques, tools, and SEO tips to enhance your footage’s visual appeal and boost viewer engagement effectively.
Color Grading Your Videos Make Your YouTube Footage Look Cinematic
By Farid Aseel • May 25, 2025
YouTube
Why Color Grading is Essential for Your YouTube Videos
In the highly competitive world of YouTube, creating visually appealing content is more important than ever. One of the most effective ways to elevate your videos and make them stand out is through color grading. Color grading transforms raw footage into a cinematic masterpiece by adjusting colors, contrast, and mood, enhancing the storytelling experience. This article dives deep into the art and science of color grading, providing practical tips and professional techniques that will help you make your YouTube footage look cinematic and polished. Whether you are a beginner or an experienced video creator, mastering color grading is key to boosting viewer engagement and increasing the perceived quality of your content.
What is Color Grading and Why Does It Matter?
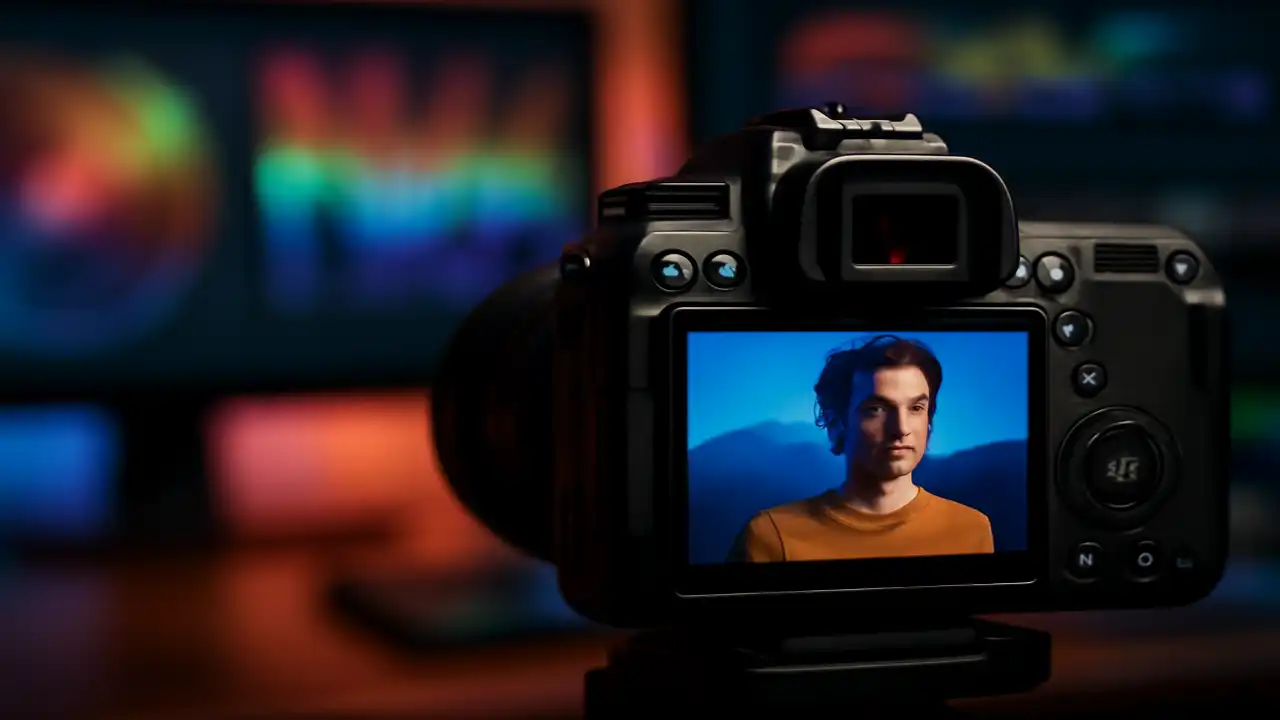
Color grading is the process of modifying and enhancing the color of a video during post-production. It involves adjusting the hues, saturation, brightness, and contrast to create a specific atmosphere or style. Unlike color correction—which focuses on fixing color imbalances—color grading adds an artistic touch to videos, making them emotionally compelling.
Color grading plays a vital role in filmmaking and video production because it shapes the visual tone, influences audience emotions, and helps maintain consistent aesthetics throughout the footage. For YouTube creators, well-graded videos can increase watch time, attract more subscribers, and improve your channel's professionalism.
Key Benefits of Color Grading for YouTube Content:
- Establishes Mood and Atmosphere: Warm tones evoke feelings of comfort, while cooler shades can create suspense.
- Enhances Storytelling: Color supports narrative by visually emphasizing key moments.
- Improves Visual Consistency: Maintains uniformity across scenes shot in varying lighting conditions.
- Increases Viewer Engagement: Cinematic visuals hold viewers’ attention longer.
- Boosts Channel Reputation: High-quality color grading signals professionalism and care.
Detailed Explanation of Color Grading Techniques
Color grading requires both creative vision and technical understanding. Here are the essential components and techniques you should know:
1. Understanding Color Wheels and Scopes
Color grading tools often use three color wheels to adjust shadows, midtones, and highlights separately. Learning how to manipulate these wheels allows for fine control over the image’s overall feel. Video scopes, such as waveform monitors and vectorscopes, help measure brightness and color saturation objectively, ensuring your footage looks natural and balanced.
2. Primary and Secondary Color Correction
- Primary correction balances the entire image by adjusting exposure, white balance, and contrast.
- Secondary correction targets specific colors or areas to refine details, such as making a sky bluer or skin tones warmer.
3. Creating a Color Grade Preset or LUT
Look-Up Tables (LUTs) are pre-designed color profiles that can be applied to footage for quick grading. Custom LUTs help maintain a signature style across videos and save editing time.
4. Using Curves and Contrast
Adjusting curves lets you modify the tonal range precisely, enhancing contrast and bringing out details in shadows or highlights.
5. Applying Film Emulation and Grain
To achieve a cinematic look, many creators add film grain and emulate classic film stock colors. This subtle texture adds depth and a professional feel.
Practical Tips and Professional Techniques for Color Grading Your YouTube Videos
Tip 1: Shoot in LOG or Flat Profile
To maximize grading potential, film in a flat or LOG color profile, which preserves more dynamic range and detail, making color adjustments more effective.
Tip 2: Use Professional Software
Tools like Adobe Premiere Pro, DaVinci Resolve, and Final Cut Pro offer advanced color grading capabilities. DaVinci Resolve is particularly praised for its industry-standard color grading features and free version availability.
Tip 3: Keep Skin Tones Natural
Human skin tones are critical for viewer comfort. Use vectorscopes to keep skin colors within natural ranges while adjusting other colors creatively.
Tip 4: Maintain Consistency Across Clips
Match color grades between different shots to ensure a smooth, professional-looking video. Use adjustment layers or apply LUTs consistently.
Tip 5: Use Masks and Tracking
Selective grading with masks allows you to adjust specific areas without affecting the whole frame. Motion tracking keeps these adjustments aligned with moving subjects.
Tip 6: Don't Overdo It
Subtlety is key in color grading. Avoid extreme changes that make footage look unnatural unless that’s the artistic intention.
Conclusion and Call to Action
Color grading is an indispensable skill for YouTube creators striving to produce cinematic, professional-looking videos. By mastering the techniques and tools discussed, you can dramatically improve your footage’s visual appeal and viewer engagement. Start experimenting with color grading today and watch your YouTube channel grow with higher-quality content. Don’t forget to share this guide with fellow creators.
Continuous Improvement and Analysis
To keep your content and skills sharp:
- Regularly review your videos’ performance analytics to see how changes in grading impact viewer retention.
- Stay updated on new software features and grading trends.
- Experiment with different styles and collect feedback from your audience.
- Continuously refine your workflow for faster, better results.